Want to start developing on Windows 11? We’ll give you the 11 best tips to set up your developer environment on Windows 11, so you’re fully ready to write great code.
Tip 1. Enable file name extensions
As a developer, you’ll want to see file name extensions. That way you can easily find the file you’re looking for when browsing your git repository. To do this on Windows 11, open Windows Explorer. Then click at the top on View / Show / File name extensions.
Tip 2. Use winget
Installing software via the GUI is outdated in Windows 11. It’s much easier via the command line. For example, to install git, just run winget install Git.Git in the terminal. Install VS Code with winget install Microsoft.VisualStudioCode. The same goes for Spotify, JetBrains Toolbox, IntelliJ, PowerToys, Docker, Rancher, Postgres, 7-Zip, and more. To quickly find a command, look up the app on winget.run and run the installation command in the terminal.
Tip 3. Install modern PowerShell
Modern PowerShell (formerly PowerShell Core, now called PowerShell 7) works better than the built-in, outdated Windows PowerShell. It’s faster, supports more operators, and runs on Linux and Mac, so you can share scripts across platforms. It also makes life easier for (ex-)Linux users: ls, cat, cp, ps all work, and paths use forward slashes. Install PowerShell 7 via winget with winget install Microsoft.PowerShell.
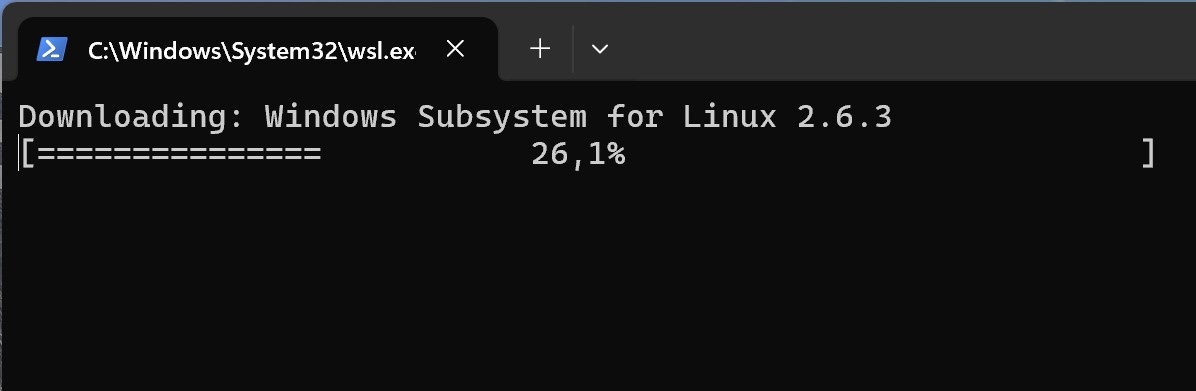
Tip 4. Install WSL
If you want to dev on Windows, you can’t ignore Windows Subsystem for Linux. It runs a virtual machine that integrates well with Windows. You can choose Fedora, Ubuntu, or openSUSE. Install WSL via the terminal with wsl --install. Then search for your favorite distro in the Microsoft Store and install it.
After installing your distro, you can browse Linux files via Windows Explorer. At the bottom left you’ll see Linux and can navigate through it. From the Linux terminal, type explorer.exe . to open a folder in Windows Explorer. Very handy.
Tip 5. Customize the taskbar
As a developer, you often have many windows open, sometimes from the same app. It’s nicer to adjust the taskbar by removing the search box and widgets button.
Right-click empty space on the taskbar and choose Taskbar settings. Disable the oversized search box and widgets. Scroll down to Taskbar behavior and set Taskbar alignment to Left if you prefer, and Combine taskbar buttons and hide labels to Never if that suits you.
Before:

After:

Tip 6. Know Windows Terminal
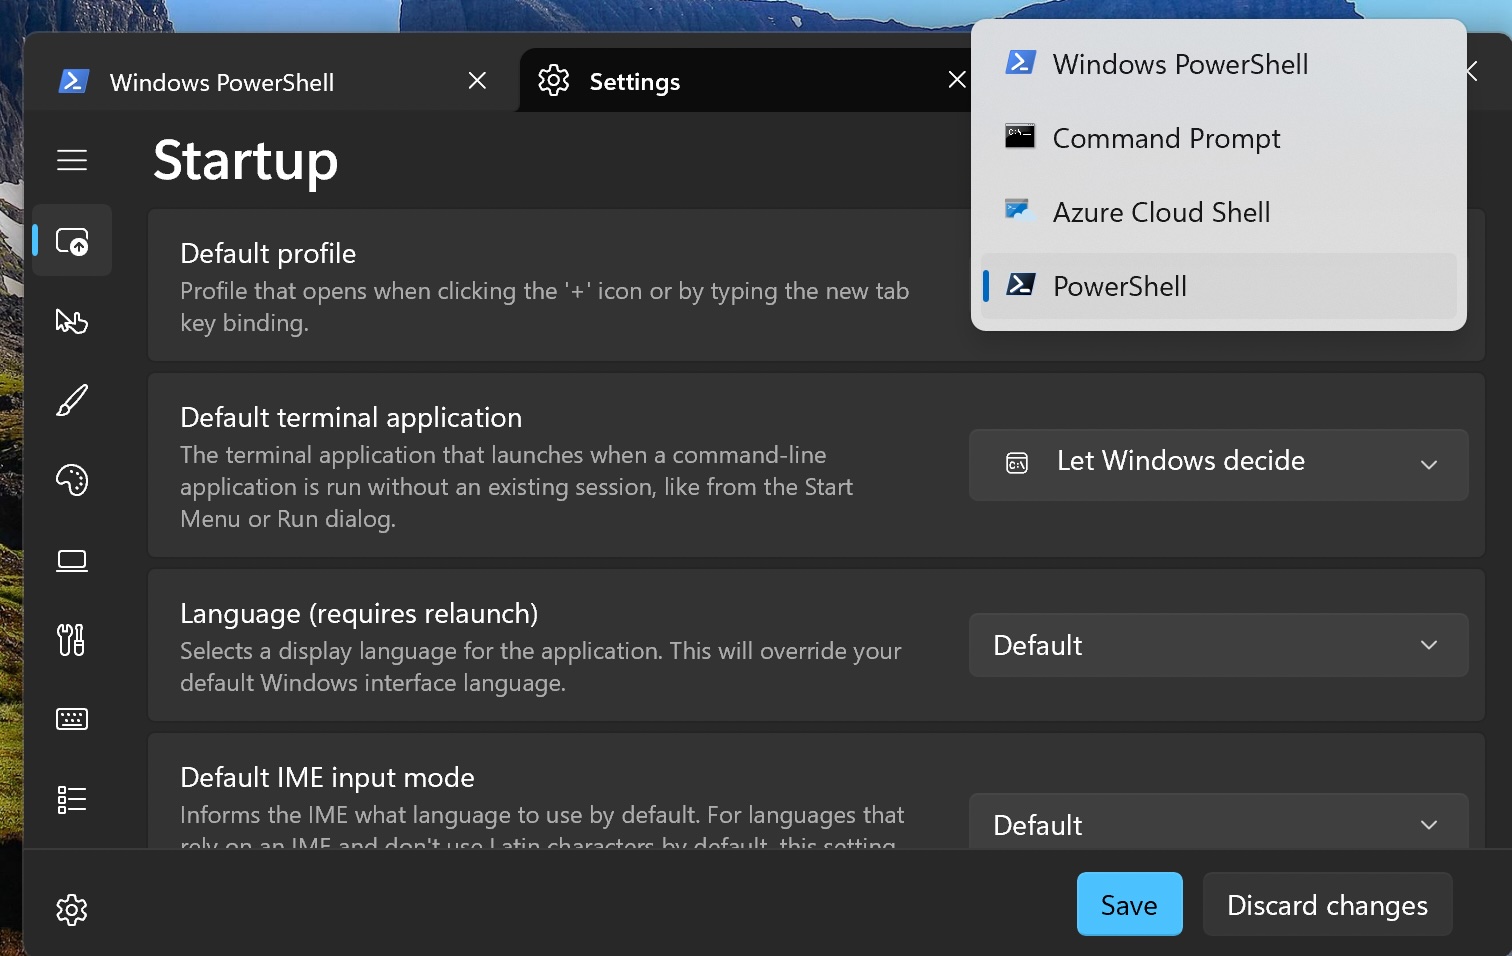
Microsoft replaced the old Command Prompt with a modern app: Windows Terminal. Open it by right-clicking the Start button and choosing Terminal.
Open terminal settings by clicking the arrow next to the tab and choosing Settings. Set the default profile to PowerShell 7 (black icon) instead of outdated Windows PowerShell (blue icon). You can also adjust fonts, color schemes, and make sure terminals opened by apps attach to the current window. Do this under Startup / New instance behavior / Attach to most recent window. Explore the settings to configure everything to your liking.
Tip 7. Use Oh My Posh for a modern terminal experience
Oh My Posh improves your terminal with nice fonts, icons, and extra functionality. It shows the git branch of the current directory, the folder name, and more. It’s fast (written in Go) and supports plugins.
To install, open the terminal with PowerShell 7. Set your default shell to PowerShell 7 in Windows Terminal settings. Run winget install JanDeDobbeleer.OhMyPosh --source winget. Then install a nerd font with oh-my-posh font install. Finally, activate Oh My Posh at PowerShell startup: run notepad $PROFILE and add oh-my-posh init pwsh | Invoke-Expression at the bottom. Save the file. Full installation steps are here.

Tip 8. Create a ReFS partition
ReFS (Resilient FileSystem) is a modern filesystem by Microsoft, great for developers. It supports Copy-on-Write and Block cloning, and Windows Defender scans files non-blocking on ReFS.
To use ReFS, partition your disk. Shrink your disk in Disk Management and create a new partition. Don’t format it. Then go to Windows Settings, search for Dev drive, and create one using the empty partition. Move your git repositories to your dev drive. You can use it like any other partition.
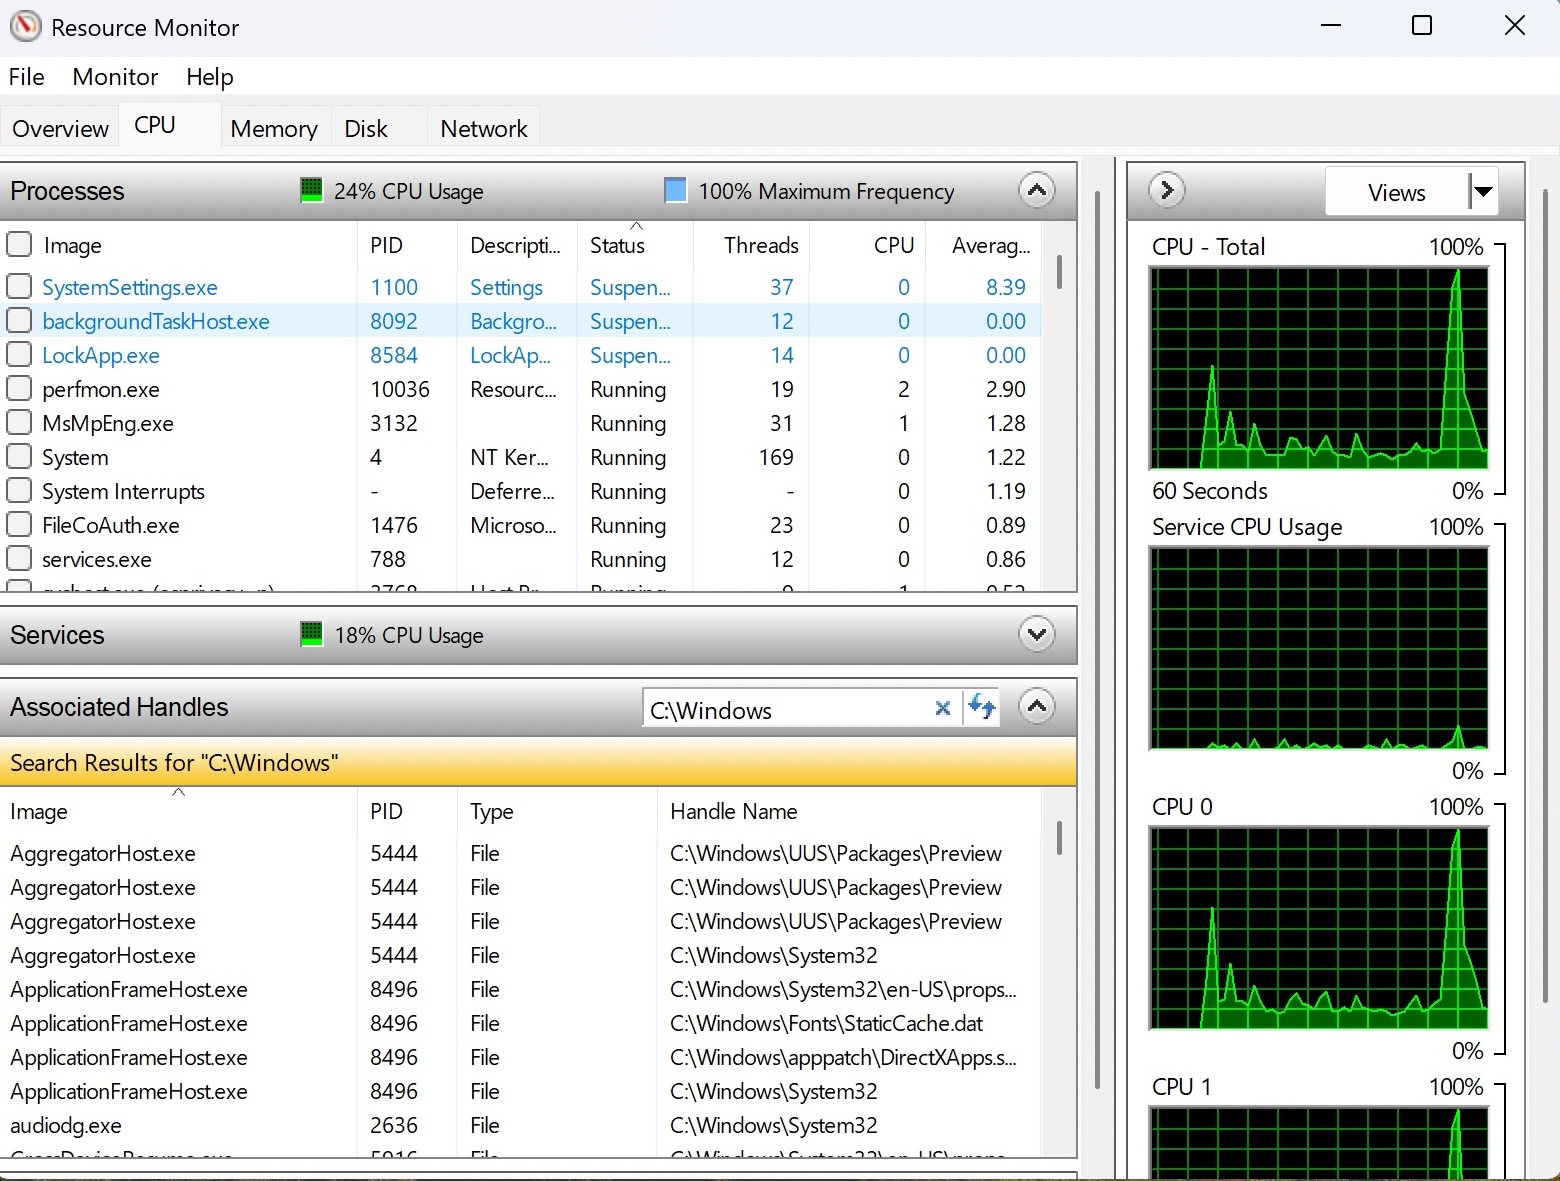
Tip 9. See which process is locking a file or folder
In Windows you can easily see which process is locking a file or folder. Open the Start menu, search for Resource Monitor, and open it. Go to the CPU tab, then Associated Handles. Enter the file path you can’t delete, and after a while you’ll see the process. Open Task Manager, find the PID, and end the process.
Tip 10. Enable Dark Mode
Devving is best done in dark mode. Enable it: go to Settings / Personalization / Choose your mode and select Dark.
Tip 11. Disable web search results in Start Menu
When opening apps via the Start Menu, you don’t want web results. Disable them: open Settings / Privacy & security / Recommendations & offers and turn everything off. Go back to Diagnostics and feedback and disable optional data. Then go to Search and turn off Bing search results.
Conclusion
Whether you use Windows 11 for fun or for work, with these tips you’ll use Windows like a real pro. You’ll now make the most of the developer features Microsoft added to Windows 11. With winget, Windows Terminal, Oh My Posh, ReFS, and WSL, devving on Windows becomes a joy.

